

Simply Creamy and Rustic: Cast Iron Cherry Clafoutis
Nothing says summer in Idaho like a big bag of cherries.
You know the type, too! In the grocery stores its plastic bags cascading down a produce box, but at the farmers market it’s a bit different. Instead, there are lines of these cute paper bags with handles, positively brimming with lusciously colored cherries just waiting to be taken home to a loving family. The Boise Farmers Market isn’t any different, and I was thrilled to see when, at the beginning of July, the cherries were making their full debut. And what a debut it was!

They are ready for their big moment!
The demand was intense! Especially at Albeke Farms and Kelley’s Canyon Orchards, which were selling these cute berries in pints and paper bags. Lines of eager buyers wrapped around tents and winded through the parking lot, ready to snatch up these delicious little morsels. How couldn’t you?

I was lucky to get there early! There were folks with lawn chairs!
With the cherries in full demand, that meant time to break out one of my comfortable ventures into baking. Baking isn’t something I do very often because, lets be honest, I am TERRIBLE at it. Dylan is the baking genius in the house for good reason; he can do all the stuff that I can’t! One time I wanted to surprise him with a cheesy bread loaf after he was coming back from a trip to California. It was less a loaf a bread, and more a brick that you could panel your den with. Needless to say, I try to keep myself to things even simpler than that.
Enter my favorite cherry Recipe: Cherry Clafoutis
Add this to the list of things you can smell through the screen! Oh my, the custard is so sweet!
When I decided to venture back into baking again, I wanted to try something foolproof. Clafoutis(That’s pronounced like kla-foo-TEA) is really, and I mean, REALLY hard to mess up. The runny, custard-y batter is super simple to put together, and the taste. THE TASTE. My goodness it screens at you to squish in another creamy bite. Top with a little powdered sugar and you have yourself a winner!
First, we had to pit the cherries that we got from the farmer’s market. We don’t have a cherry pitter, so we had to improvise. Luckily, we found a surefire way to pit the cherries easily at home! We took an old wine bottle, and placed the cherry on top. Then, using a metal straw, we literally just pushed the pit out. The pit fell into the bottle, and the cherry was largely intact!
We eyeballed about 2 cups worth of cherries into a deli container. This was eyeballed, because its hard to tell just how many cherries you may need for this. The cherries will give a lovely coat to the bottom of the pan, and you probably will have some left over. Oh, and Snacking. Mostly snacking. Okay, I might have a bit of a problem, I admit, but what’s the fun if you can’t snack along the way?

Quick and easy to de-pit these cherries!
Next, we made the batter. Nothing fancy here really, its like a waffle batter in its simplicity(Which also means I don’t have to worry about turning it into a brick!). We combined the Sugar, Vanilla, milk, eggs, salt, and melted butter in a bowl, and whisked to make sure that all the sugar melted. Then, we sifted in the flour and whisked until the mixture was nice and smooth. That’s it! That’s all there is to it!
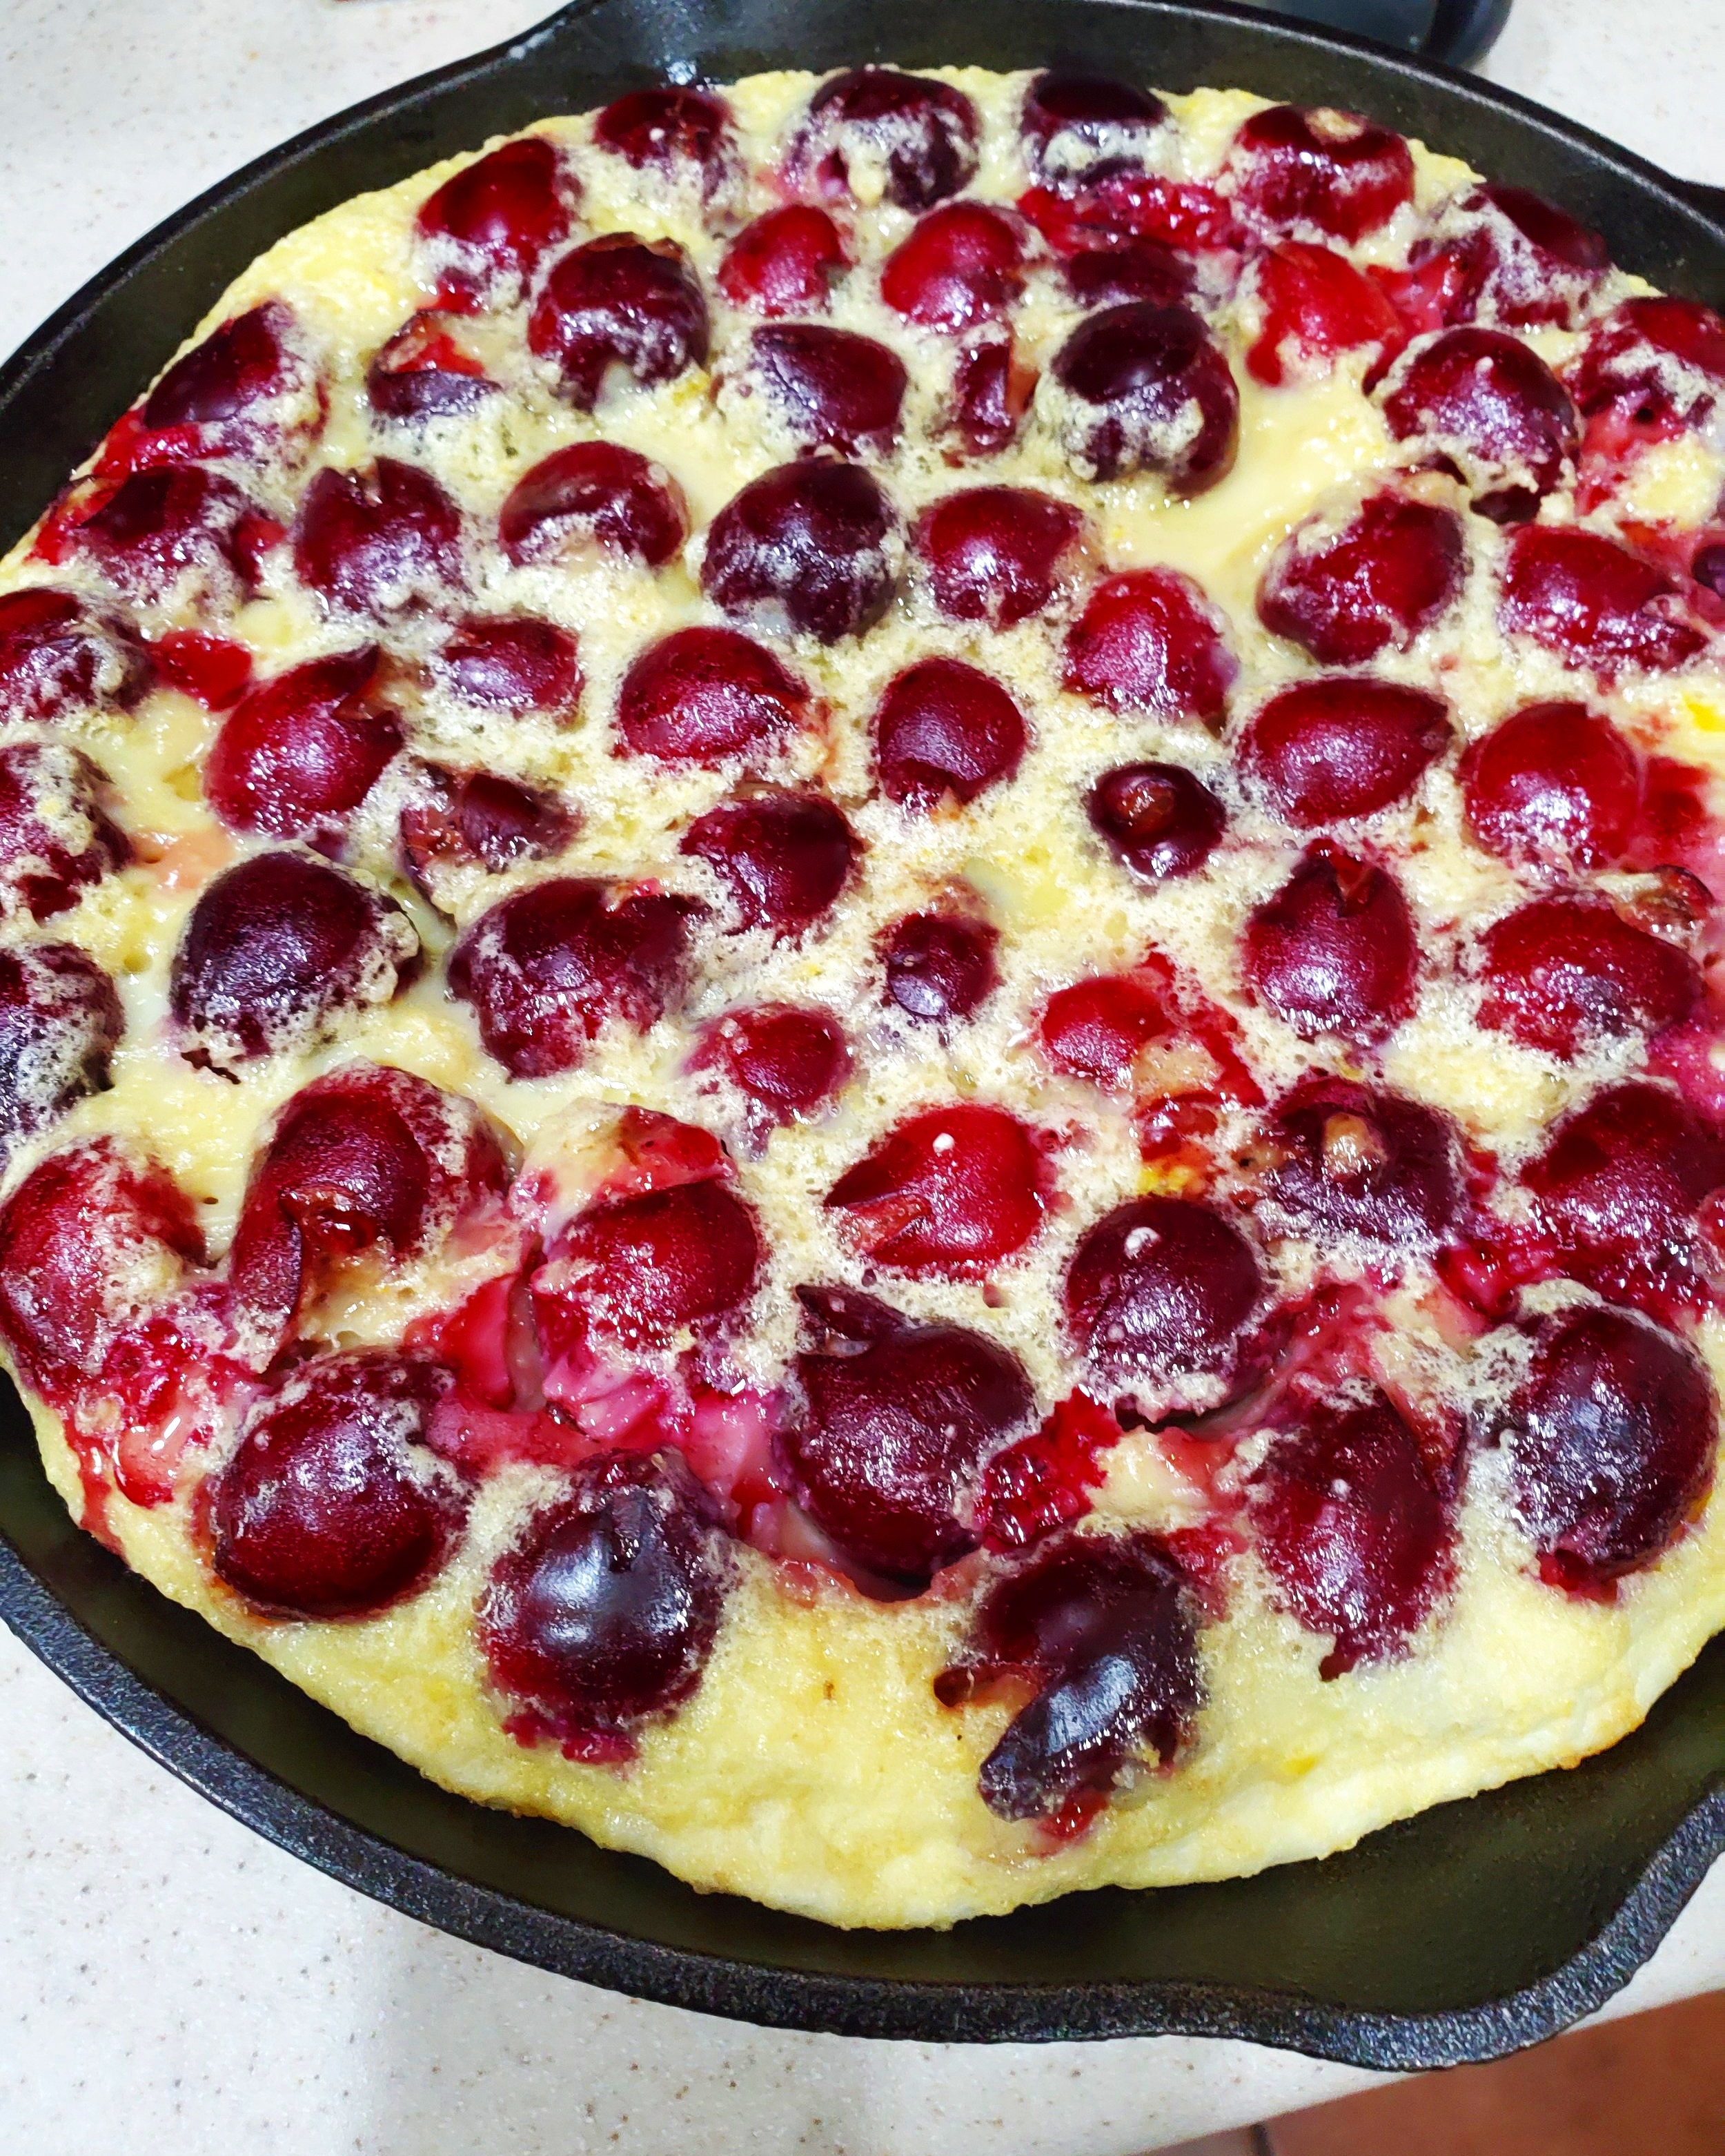
Lastly is to make and bake it! We buttered the cast iron pan, and then placed the cherries in a lovely circle design on the bottom. We had a few cherries left over and they were promptly consumed in the snacking frenzy that followed; they we just so good! Then, we carefully poured the batter into the pan so that the cherries began to float up on this ocean of creamy-eggy goodness. Then, we stashed it in the oven for 30 to 40 minutes and used a toothpick to see if it was done. The toothpick shouldn’t come out completely clean, the custard would be a bit rubbery if it was. Instead, I want a smooth custard, so when its mostly clean, its ready to go!

Cherries in the Clafoutis…that is what we are…..there’s a song in there somewhere!
That’s all there is to it! This cherry Clafoutis will be the next big hit at your next brunch shindig, and you get to giggle knowing it took next to no work for you! The creamy flavors of the clafoutis mix with the tartness of the cherries, giving it a luscious glow to compliment the bright summer days to come!

Excuse me, I’m going to need a while. Oomph, its so good!
Cast Iron Cherry Clafoutis
Serves: 6 Hearty Portions
Ingredients:
2 cups freshly pitted cherries (enough to cover the bottom of the pan)
1 cup whole milk
4 eggs
½ cup sugar
1 teaspoon vanilla( you can easily substitute almond extract here!)
2 tablespoons butter, Melted.(Plus more for buttering the cast iron pan!)
½ cup flour.
1 teaspoon fine kosher salt
Powdered Sugar for Dusting
Instructions:
1. Preheat oven to 350°F. Pit the cherries using a cherry pitter, or by pushing the pits into an empty bottle with a metal straw. Reserve these cherries, and discard the pits.
2. In a bowl, combine the Sugar, Eggs, Milk, vanilla, salt, and Butter, and stir until the sugar is completely dissolved. Then stir in the flour until the consistency is smooth. (the batter should be incredibly runny)
3. Butter the Cast Iron Skillet. Place cherries along the bottom in any design you like, until the bottom of the pan is nicely coated. Then, pour the batter into the pan until just below the top. Carefully transfer the skillet into the oven and bake 30-40 minutes until a toothpick inserted into the center comes out mostly clean. Slice and serve with powdered sugar.


